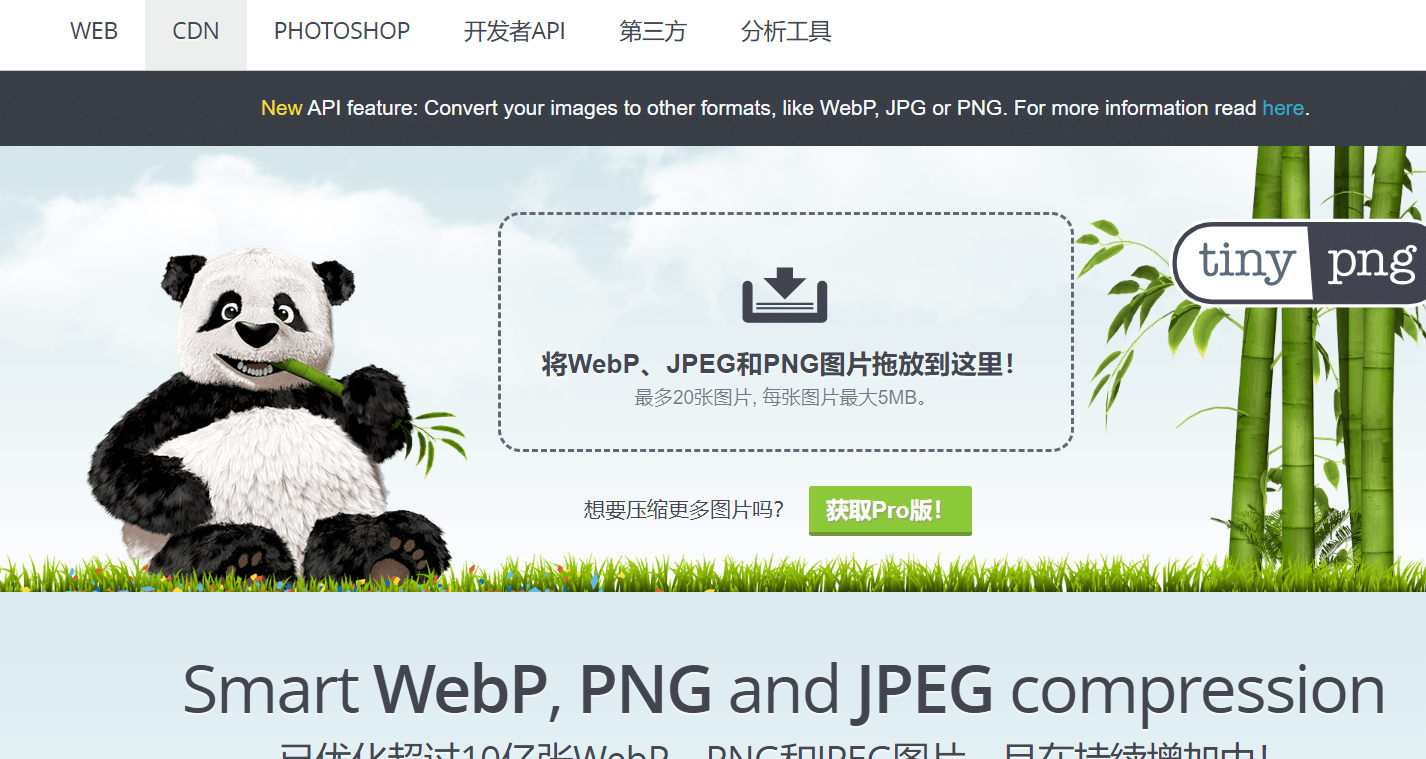
那天想用人家在线压缩的网站压缩图片,压完之后说要钱emmm赶紧给自己小站做一个,实现压图自由~
效果如下:
上传图像并压缩
实现步骤:
1,插入php代码
安装插件或者其他方法实现将php代码插入到文章的功能,我这边是安装了个插件,名为:Insert PHP Code Snippet 可以直接搜索下载
这个插件的情况,写好代码后可以使用短码插入到文章:

2,申请api
我这里使用的是免费的https://tinify.cn/,每个月可以有500次使用,注册后获取key后编写到代码中就行了,只不过这个网站它的注册登录有点拐emmm登录也必须要用邮箱emmm

3,编写代码
注意您需要将大概79行的位置的apikey更换为你自己的key。
<style>
    .button-container {
        text-align: center;
        /* 让按钮水平居中 */
        margin-top: 20px;
        /* 添加一些上边距 */
    }

    .download-button {
        display: inline-block;
        padding: 10px 20px;
        background-color: #C3E6E5;
        /* 背景颜色 */
        color: #ffffff;
        /* 文字颜色为白色 */
        text-decoration: none;
        /* 去掉链接下划线 */
        border: 1px solid #007bff;
        /* 边框 */
        border-radius: 5px;
        /* 圆角 */
        transition: background-color 0.3s;
        /* 过渡效果 */
    }

    .download-button:hover {
        background-color: #0056b3;
        /* 悬停时的背景颜色 */
    }


    body {
        font-family: Arial, sans-serif;
        background-color: #f4f4f4;
    }

    .upload-container {
        max-width: 400px;
        margin: 50px auto;
        padding: 20px;
        background-color: #fff;
        border-radius: 5px;
        box-shadow: 0 0 10px rgba(0, 0, 0, 0.1);
        text-align: center;
    }


    input[type="file"] {
        margin: 10px 0;
        padding: 10px;
        border: 1px solid #ccc;
        border-radius: 5px;
        background-color: #f9f9f9;
    }

    input[type="submit"] {
        padding: 10px 20px;
        border: none;
        border-radius: 5px;
        background-color: #007bff;
        color: #fff;
        cursor: pointer;
        transition: background-color 0.3s;
    }

    input[type="submit"]:hover {
        background-color: #0056b3;
    }
</style>
<div class="upload-container">
    <h2>上传图像并压缩</h2>
    <form action="" method="post" enctype="multipart/form-data">
        <input type="file" name="image">
        <input type="submit" value="上传">
    </form>
    <?php
        if ($_SERVER["REQUEST_METHOD"] == "POST") {
        $apiKey = 'key';  //替换为你申请到的apikey
        $compressedImagePath = '/path/to/save/compressed.png'; // 请将这里替换为您希望保存压缩后图像的路径

        $ch = curl_init('https://api.tinify.com/shrink');
        curl_setopt($ch, CURLOPT_RETURNTRANSFER, true);
        curl_setopt($ch, CURLOPT_USERPWD, "api:$apiKey");
        curl_setopt($ch, CURLOPT_POST, true);
        curl_setopt($ch, CURLOPT_POSTFIELDS, file_get_contents($_FILES["image"]["tmp_name"]));
        curl_setopt($ch, CURLOPT_HTTPHEADER, ['Content-Type: image/jpeg']); // 根据您的图像类型设置正确的 Content-Type 头部

        $response = curl_exec($ch);
        $info = curl_getinfo($ch);
        if ($info['http_code'] === 201) {
            $responseData = json_decode($response, true);
            $compressedUrl = $responseData['output']['url'];
            // 获取文件类型
            $imageType = exif_imagetype($_FILES["image"]["tmp_name"]);
            if ($imageType == IMAGETYPE_JPEG) {
                $filename = 'compressed-image.jpg';
                $post_mime_type = 'image/jpeg';
            } elseif ($imageType == IMAGETYPE_PNG) {
                $filename = 'compressed-image.png';
                $post_mime_type = 'image/png';
            } else {
                // 处理其他类型的图片(例如GIF等)
                $filename = 'compressed-image.jpg';
                $post_mime_type = 'image/jpeg';
            }
            // 将压缩后的图片保存到WordPress媒体库
            $compressedImage = file_get_contents($compressedUrl);
            $wp_upload_dir = wp_upload_dir();
            $attachment = wp_upload_bits($filename, null, $compressedImage);
            if (!$attachment['error'] && file_exists($attachment['file'])) {
                $attachment_data = array(
                    'post_mime_type' => $post_mime_type,
                    'post_title'     => 'Compressed Image',
                    'post_content'   => '',
                    'post_status'    => 'inherit'
                );
                $attachment_id = wp_insert_attachment($attachment_data, $attachment['file']);

                if (!is_wp_error($attachment_id)) {
                    // 生成附件元数据并更新附件的元数据
                    require_once(ABSPATH . 'wp-admin/includes/image.php');
                    $attachment_data = wp_generate_attachment_metadata($attachment_id, $attachment['file']);
                    wp_update_attachment_metadata($attachment_id, $attachment_data);

                    // 显示压缩后的图片和添加下载按钮

                    echo wp_get_attachment_image($attachment_id, 'full'); // 显示压缩后的图片
                    // 显示压缩后的图片和添加下载按钮
                    echo '<div class="button-container">'; // 添加一个包裹下载按钮的容器
                    echo "<a class='download-button' href='" . $attachment['url'] . "' download='" . $filename . "'>下载压缩图像</a>"; // 创建下载按钮
                    echo '</div>'; // 容器结束
                } else {
                    echo "无法插入附件: " . $attachment_id->get_error_message();
                }
            }
        } else {
            echo "压缩图像时出现错误。HTTP 状态码: " . $info['http_code'];
        }

        curl_close($ch);
        }
    ?>
</div>


